

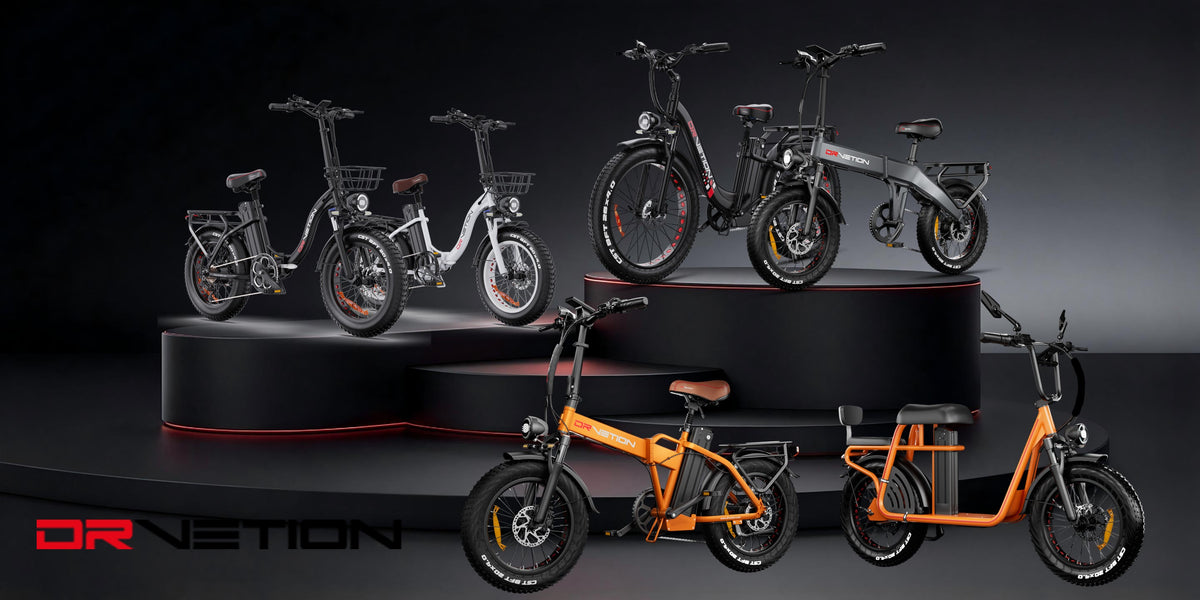
Pedal assist is the feature that separates an e-bike from a bicycle, and it is also the one new riders understand least. Most people either crank it to the highest level on day one and wonder why the battery runs down so quickly, or leave it on the lowest setting and wonder what the motor is even for.
Every Drvetion e-bike uses the same simple system: three assist levels plus an off position, shown on the LCD display. This guide explains what each level actually does, when to use it, and how your choice affects range, effort, and how the bike feels under you.
What Pedal Assist Actually Does
Pedal assist—often shortened to PAS—adds motor power only while you are pedaling. Your Drvetion e-bike uses a cadence sensor, which tracks whether the cranks are turning. Once you start pedaling, the sensor tells the 750W brushless hub motor to kick in. Stop pedaling and the assist cuts out almost immediately.
This is the single most misunderstood point about the bike, so it is worth stating plainly: pedal assist does not ride the bike for you. If the cranks are not moving, the motor stays quiet. You are doing the pedaling in every level from 1 to 3—the assist determines how much help you get while you do it.
The distinction matters because your Drvetion e-bikes also have a twist throttle. The throttle delivers power without any pedaling at all, which is useful for pulling away from a stop sign or getting a tired leg over a long stretch. Pedal assist and throttle are two separate systems on the same bike, and most riders end up using both without thinking about it.
The Four Settings on Your Display
Your LCD display shows the current assist level, and the control on the handlebar moves between them. Here is what each setting means.
Level 0 — Motor Off
Level 0 is not a low setting. It switches the motor off entirely and the bike behaves like a conventional bicycle—which, on a 72.6 lb machine like the CT20, is a genuine workout.
- Battery use drops to almost nothing, since only the display and lights draw power
- Useful for saving charge on the last few miles home
- A reasonable choice on smooth, flat paths when you want the exercise
- Worth trying briefly so you know what the bike feels like unassisted
Level 1 — Light Assist
Level 1 adds a modest amount of torque on top of your own pedaling. The hill still feels like a hill, but the part where you would normally stand up and wrench on the pedals disappears.
- Best for flat routes where you still want to feel like you are riding a bike
- The most efficient powered setting, so it gives you the longest range
- Good for building fitness, since your legs are still doing most of the work
- Often the right choice for a daily commute where you would rather not arrive sweaty
Level 2 — Medium Assist
Level 2 is the balanced setting and the one most riders should default to. Effort and assistance sit close to even, so the bike feels responsive without taking over.
- Suits mixed terrain, gentle climbs, and a headwind
- Comfortable for longer rides where you want to arrive fresh
- A good starting point when you are learning what the bike can do
- Handles stop-start town riding well, since you are rarely working hard enough to fatigue
Level 3 — Maximum Assist
Level 3 delivers the most torque the system offers—95 Nm on the CT20 and 100 Nm on the AT20 PRO and CTR26. The motor does the heavy lifting and your pedaling mostly sets the rhythm.
- The right choice for steep climbs, loaded racks, and strong headwinds
- Helpful when riding into a wind on open paths and flat ground
- Useful for riders building fitness back after a break, or who want to keep up with a faster group
- Drains the battery fastest, so plan your range accordingly
How Assist Level Affects Your Range
Range is where the level you choose really shows. The published figures—up to 80 miles on the 48V 20Ah battery—are measured under favorable conditions, which in practice means a lower assist level, flat ground, and a tailwind.
The battery options are 48V 15Ah (720Wh) and 48V 20Ah (960Wh). The larger pack is the obvious fix for long rides, but which level you ride in usually matters more than which pack you carry.
- Level 1 gets you closest to the advertised range, since the motor is contributing the least
- Level 2 is a realistic everyday figure, and where most owners should expect their actual numbers to land
- Level 3 for the whole ride cuts usable distance substantially—fine for short trips, risky on a long loop with no charger
- Level 0 costs effectively nothing, which is why coasting and pedaling without assist extends a dying battery
A practical habit: ride in whatever level feels comfortable for the first stretch, then drop down a level when you pass the halfway point. That way the return leg is covered without you having to think about it.
Matching Assist to Terrain and Conditions
Rather than memorising a level for every situation, it helps to think about what is fighting you.
- Flat, smooth path, no wind: Level 1, or Level 0 if you want the exercise
- Gentle rolling hills: Level 2, shifting early so the motor is already helping at the bottom of the climb
- Steep or sustained climbs: Level 3, and drop into a lower gear before you start, not halfway up
- Headwind on open ground: Level 3—wind resistance is the situation where extra torque earns its keep
- Stop-start town riding with traffic lights: Level 2, with the twist throttle for pulling away cleanly
- Carrying a load or a child seat: one level higher than you would ride without it
The pattern worth remembering: add a level for anything that slows you down that you cannot control—gradient, wind, weight. Take one away when conditions are in your favour.
Using Assist Levels With the 7-Speed Gears
Your Drvetion e-bike has a Shimano 7-speed drivetrain, and the gears and assist levels interact in a way that surprises a lot of new riders. They are not two ways of doing the same thing.
The gear determines how hard your legs turn the cranks. The assist level determines how much the motor adds to that effort. Using a high gear with low assist gives your legs real work while the motor stays efficient. Using a low gear with high assist makes the pedaling feel light and fast, which is what you want climbing a hill.
- Higher gear + lower assist: more leg effort, better battery economy, good for fitness riding on flat ground
- Lower gear + higher assist: easy spinning, strong torque at the wheel, good for climbs
- Higher gear + higher assist: feels powerful but puts a lot of strain through the drivetrain—avoid it from a standing start
One habit saves a lot of wear: ease off the pedals for a moment when you change gear. Under full motor load, shifting hard is what makes the drivetrain clunk and wears the chain and cassette faster than it needs to.
Speed, Assist, and Local Rules
The top speed on these models is 32 mph, but how much of that you get from assist depends on the level you are in and how fast you are pedaling. At Level 1 the motor is contributing relatively little, so your own cadence sets the pace. At Level 3 the assist does more of the work to get you up to speed.
Electric bike classifications differ by country, and some European markets place limits on how much assistance is available and at what speed it cuts out. Before riding a new route or crossing a border, check the rules that apply where you are actually riding rather than assuming the specifications on the box are what you are permitted to use. Our guide on checking local riding rules covers how to look this up.
Which Level Should You Default To?
If you would rather not think about it, start at Level 2 and adjust from there. Beyond that, it depends on what you want from the ride.
- Daily commuter: Level 2, with Level 3 for the one hill on your route and the throttle at traffic lights
- Riding to get fitter: Level 1 on the flat, and save Level 3 for climbs so you keep pedaling rather than coasting
- Returning to exercise after a break: Level 3, no apology. The point is that you are riding consistently, not that you are suffering
- Riding with a faster friend: Level 3, which is exactly what the assist is for—mixed-ability groups staying together
- Long Sunday ride: Level 2 outbound, Level 1 on the way back, Level 0 if you are watching the last few bars
A Quick Reference Checklist
- Level 0 means the motor is off entirely, not merely low
- Pedal assist needs pedaling—cadence sensor, so no cranks turning means no power
- The twist throttle works without pedaling and is a separate system
- Level 1 is the most efficient powered setting and gives the longest range
- Level 3 is the fastest way to flatten a battery—plan the return leg before you use it all ride
- Shift to a lower gear before a climb, not halfway up it
- Ease off the pedals when changing gear under motor load
- The current level is always shown on the LCD display
- Drop a level after the halfway point of any ride where range is in question
Need Help?
If you have questions about pedal assist behaviour on your specific model, or the assist does not seem to engage the way it should, contact our support team:
- Email: sale@drvetion.com
When you write in, include your model (CT20, CT20 PRO, AT20 PRO, AT20 PRO MAX, CTR26, BT20, or ET20), your battery size, and what the LCD display shows when the problem appears. A short video of the issue is often enough for us to tell whether it is a setting, a connection, or a component that needs attention.
Final Thoughts
Three levels plus off is deliberately simple, and once you know what each one costs in battery and gives back in effort, you will stop thinking about them. Most rides happen at Level 2. Hills push you to Level 3. The way home on a low battery is Level 1, or Level 0 if you are willing to work for it.
Start your next ride one level lower than you think you need and see how it feels. On flat ground it is usually more than enough, and the range you gain is worth far more than the small extra effort it takes to get there.
Have questions about pedal assist or your specific model? Visit our Product Guide for detailed specifications, or email us at sale@drvetion.com for personalized assistance.

Share:
Is Riding an E-Bike Good Exercise? A Beginner's Guide to Health Benefits
How Much Does an E-Bike Cost in 2026? A Realistic Price Breakdown